

 English
 Français
 Italiano
 Deutsch
 Español
 Русский
 Čeština
 Türkçe
 简体中文
简体中文 正體中文
正體中文 日本語
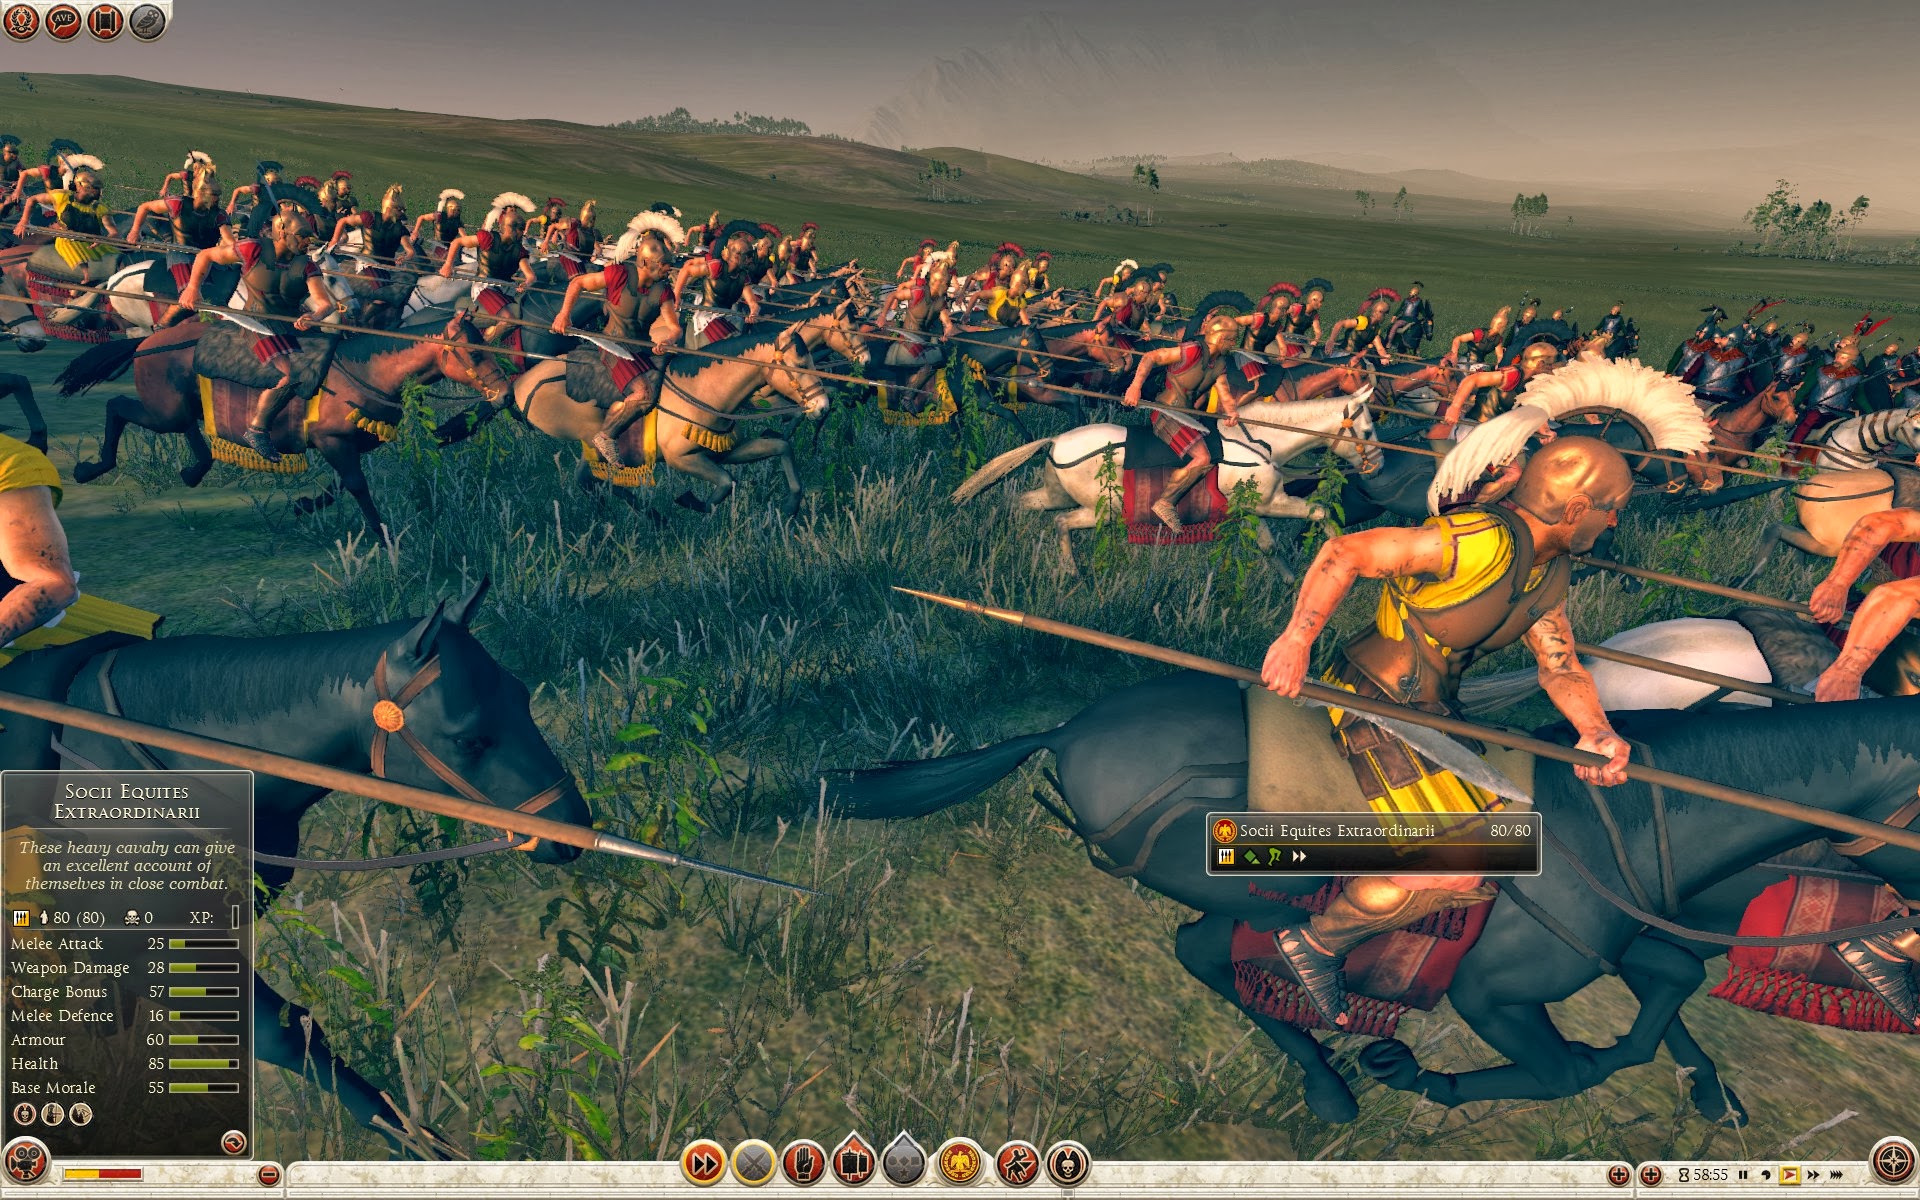
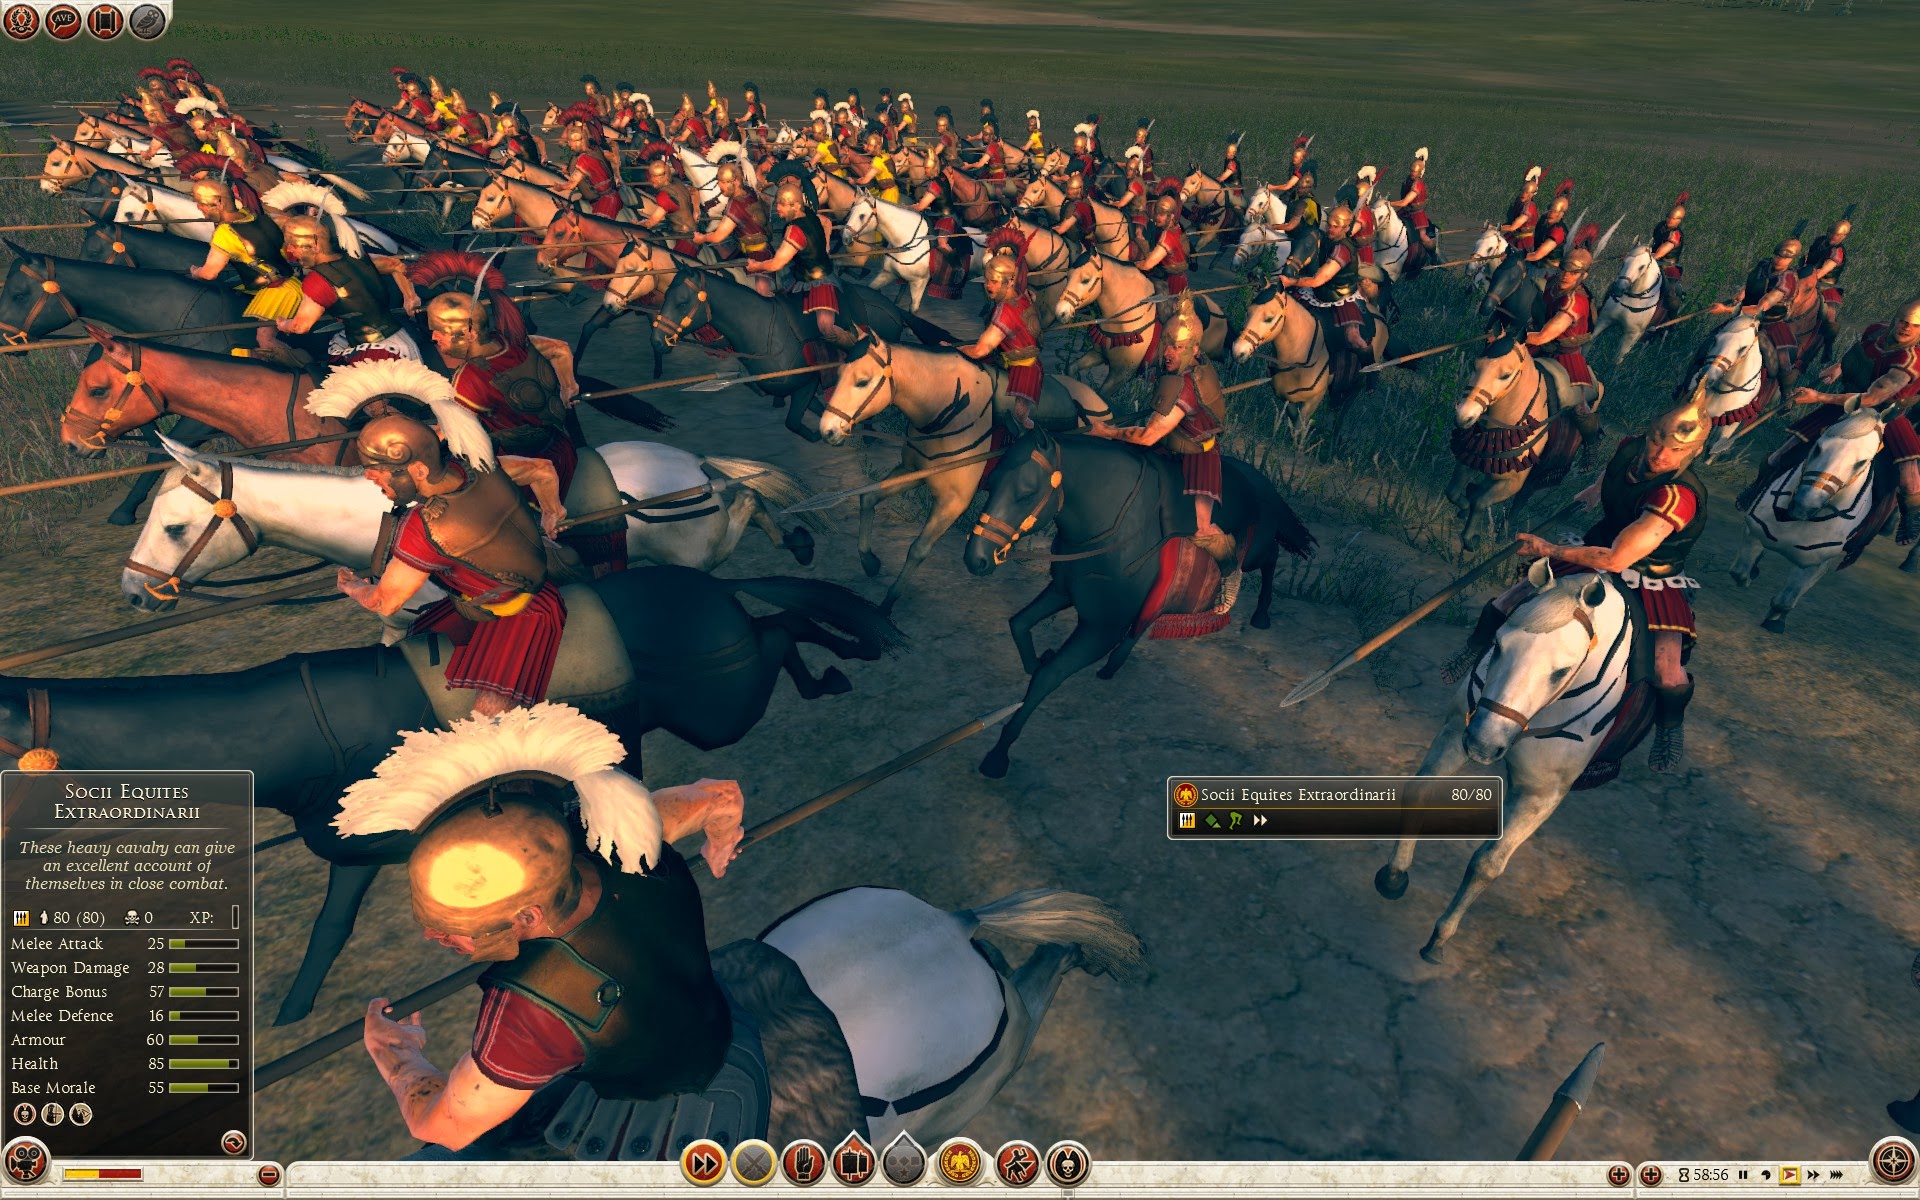
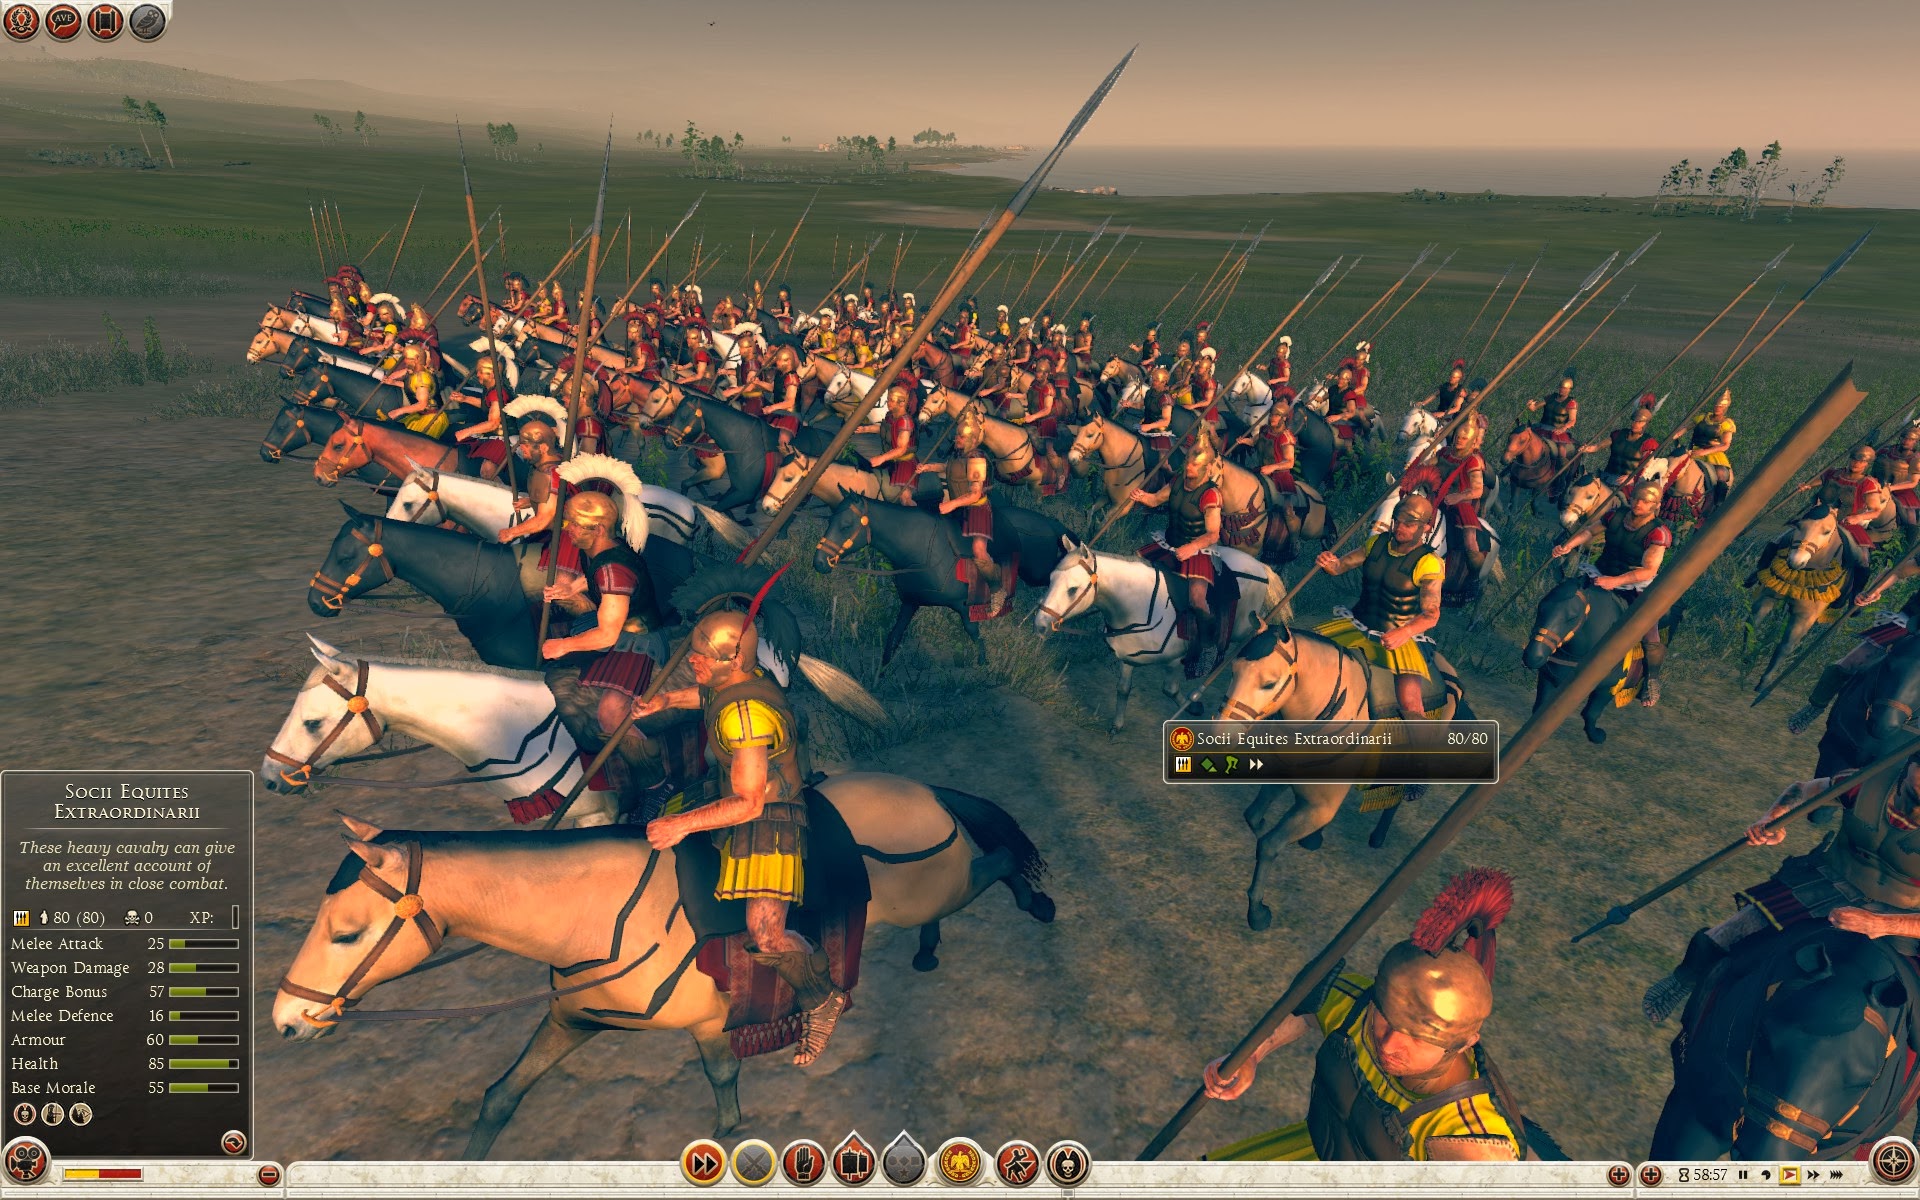
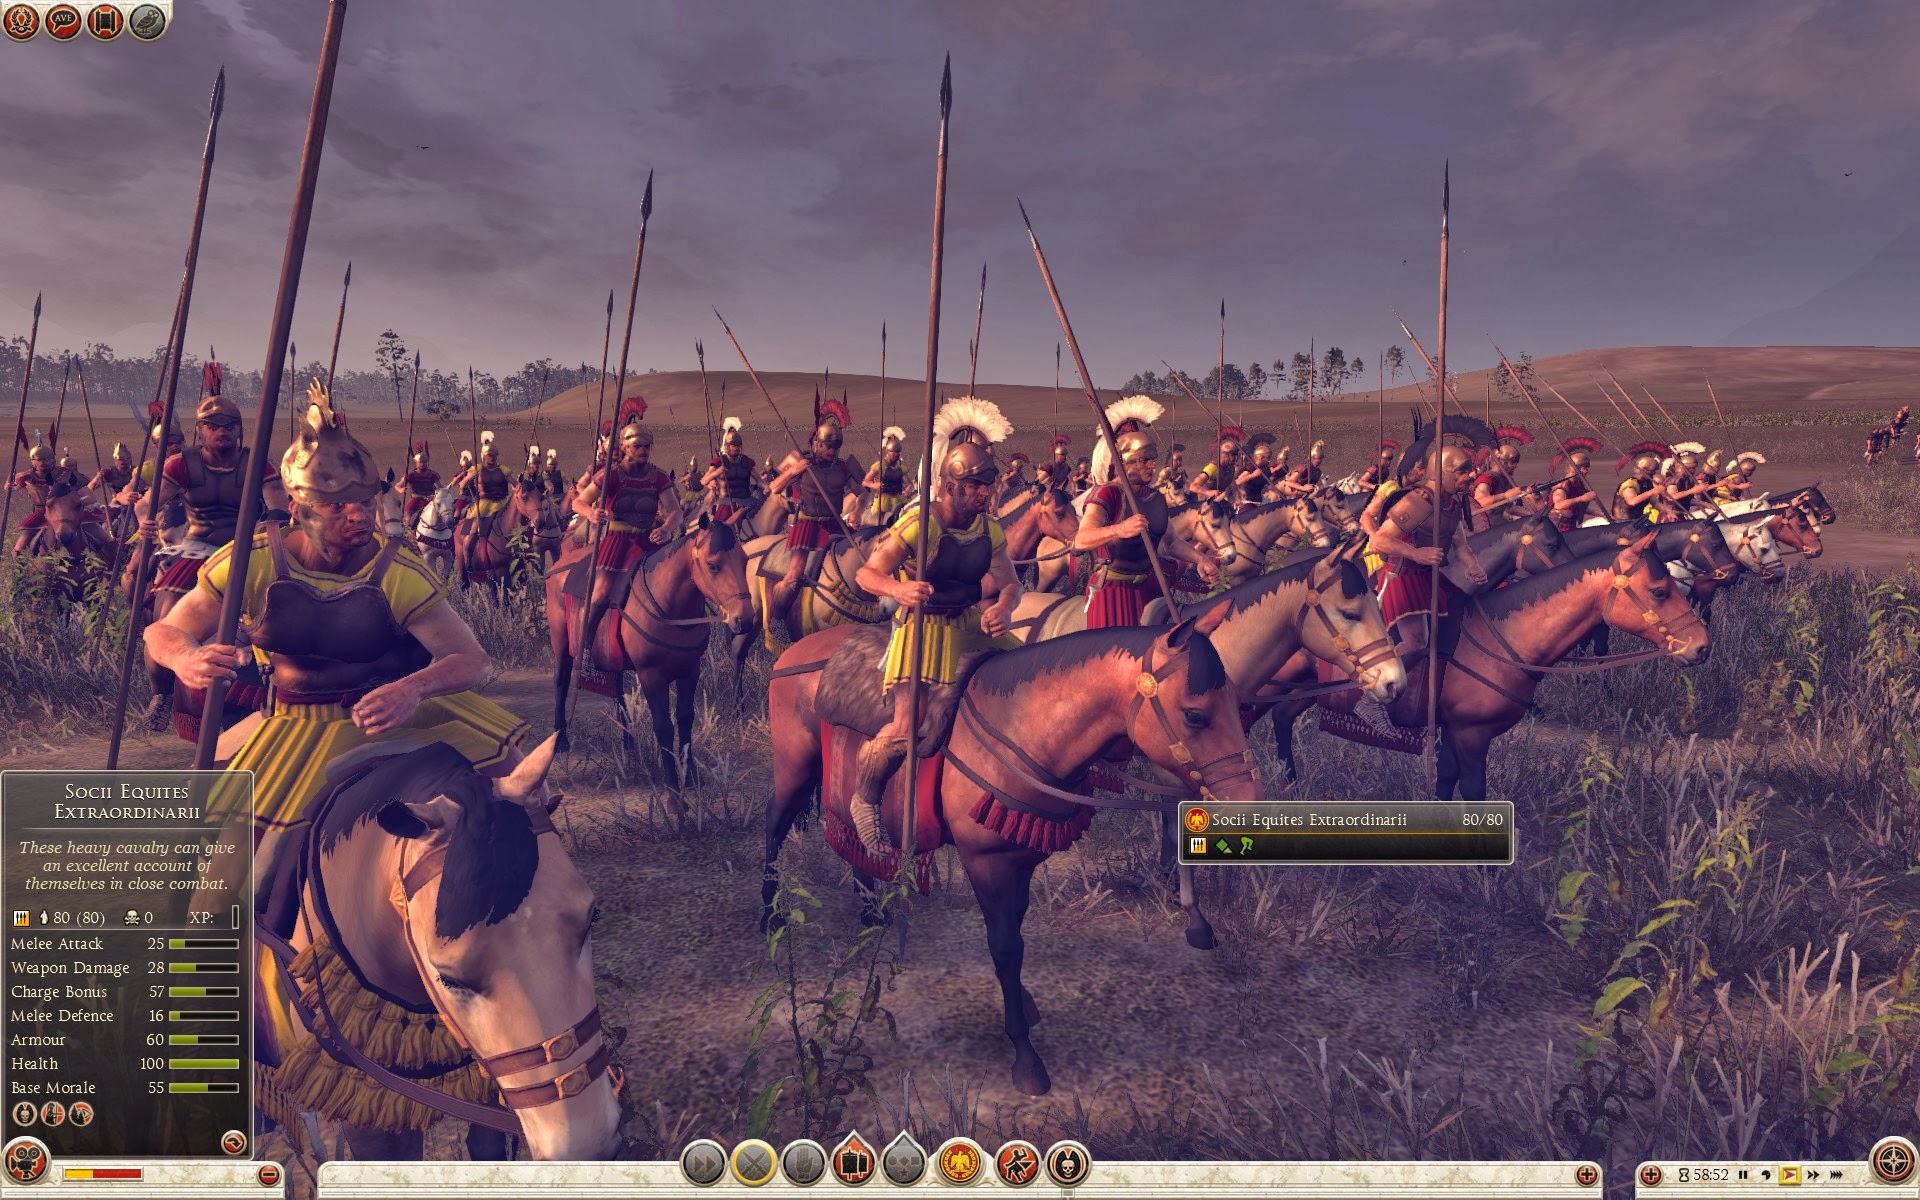
日本語Socii Equites Extraordinarii
Ciężka jazda, która doskonale radzi sobie w boju.Equites extraordinarii pochodzili z szeregów socii, sprzymierzeńców Rzymu, którzy stanowili większość jeźdźców w czasach wczesnej republiki. Przeważnie jazda sprzymierzeńców była dwa-trzy razy liczniejsza niż oddziały konnicy obywateli Rzymu. Armia konsularna, składająca się z dwóch legionów, liczyła około 1800 konnych sprzymierzeńców, z czego przynajmniej 600 stanowili elitarni equites extraordinarii. Jazdę rzymską wystawiano zazwyczaj na prawej flance, a ekwitów – na lewej. Ten brak równowagi stanowił słabość, którą wykorzystał Hannibal w bitwie pod Kannami w 216 r. p.n.e., kiedy to kartagińska jazda Hazdrubala rozbiła rzymskich konnych, a lekka jazda numidyjska starła się ze sprzymierzeńcami. Po reformach Mariusza oraz wojnach marsyjskich w latach 90-88 p.n.e. formacja sprzymierzeńców zanikła; jej członkowie weszli w skład legionów jako obywatele.

Unit Name Socii Equites Extraordinarii |
Main Unit Key Aux_Ita_Socii_Equites_Extraordinarii |
Land Unit Key Aux_Ita_Socii_Equites_Extraordinarii |
Naval Unit Key pel_transport |
Soldiers 80 |
Category Jazda |
Class Jazda szturmowa |
Własna bitwa Koszt 840 |
Koszt werbunku 840 |
Koszt utrzymania 140 |
Walka w zwarciu 34 |
Siła ciosu 25 |
├ Melee Weapon rome_lance |
├ Podstawowe obrażenia w zwarciu 14 |
├ PA obrażeń w zwarciu 11 |
├ Armour Piercing No |
├ Walka z jazdą 10 |
├ Walka ze słoniami 10 |
└ Walka z piechotą 0 |
Premia do szarży 57 |
Obrona 11 |
├ Base Defence 11 |
├ Shield none |
└ Osłona tarcz 0 |
Pancerz 60 |
├ Pancerz bronze |
├ Armour Defence 60 |
└ Pancerz tarczy 0 |
Zdrowie 100 |
├ Man Entity rome_infantry_very_heavy |
├ Man Health 45 |
├ Bonus Hit Points 20 |
├ Mount rome_hellenic_horse_lance_vh |
├ Mount Entity rome_horse_very_heavy_shock |
└ Mount Health 35 |
Bazowe morale 55 |
Zdolności
No Ability
Atrybuty
- Dyscyplina
Ten oddział nie traci morale w razie śmierci wodza. Poza tym, po rozbiciu przez wroga, ma większe szanse na zebranie się. - Ukrycie (las)
Ten oddział może ukrywać się w lesie, dopóki wróg nie podejdzie zbyt blisko.
Wady i zalety
Transport- Bardzo mała wytrzymałość kadłuba
- Bardzo mała prędkość
- Słabe taranowanie
- Bardzo dobra szarża
- Niskie obrażenia, przeciętna skuteczność przebicia pancerza
- Słabi w dłuższych starciach w zwarciu
- Wysokie morale
| Recuitment Requirement | |||||||||||||||||
|---|---|---|---|---|---|---|---|---|---|---|---|---|---|---|---|---|---|
| Unit Resouces | Auxilia_Italian | ||||||||||||||||
Główna kampania Regions
|
|||||||||||||||||
| Wymaga Budynki | |||||||||||||||||
|
Koszary oddziałów pomocniczych
(rome_military_aux_3) Level 2
Garnizon oddziałów pomocniczych
(rome_military_aux_4) Level 3 |
|||||||||||||||||
| Frakcje z dostępem | |
|---|---|
| Główna kampania | |
| Wojny samnickie | |
| Hannibal u bram | |
| Imperator August | |
| Total War: Rome II |
|---|
|
Total War: Rome II > |
| Frakcje |
| Jednostki |
| Siły pomocnicze |
| Auxiliary Map New!! |
| Budynki |
| Technologie |
| Domostwo |
| Umiejętności & Tradycje |
| Army New!! |
| Regiony |
| Najemnicy |
| Najemnicy Map New!! |
| Cechy bohatera New!! |
| Porównaj Jednostki New!! |

| Lojaliści senatu Jednostki |
|---|
| Wódz (5) |
3. |
4. |
| Dowództwo (2) |
7. |
| Piechota do walki w zwarciu (30) |
25. |
28. |
29. |
30. |
31. |
33. |
35. |
36. |
| Piechota miotająca (20) |
56. |
57. |
| Piechota z włóczniami (13) |
68. |
69. |
70. |
| Jazda do walki w zwarciu (19) |
87. |
| Jazda miotająca (11) |
| Jazda szturmowa (4) |
| Słonie (2) |
| Artyleria stacjonarna (4) |
| Artyleria polowa (7) |
112. |
114. |
117. |
| Specjalne (1) |
118. |
| Dowódca floty (6) |
| Okręty szturmowe (34) |
| Okręty miotające (20) |
| Okręty artyleryjskie (2) |
Factions
Units
Units in Custom Battle
Buildings
Technologies
Household
Regions
Mercenaries
Total War: Rome II
Factions
Units
Auxiliary Corps
Units in Custom Battle
Buildings
Technologies
Household
Regions
Mercenaries
Total War: Rome II: MODs
Radious Total War Mod
Divide et Impera
Total War: Rome II: ICONs
BullGod's Unit Icons
Normal's Rome II_Units Icons
Factions
Units
Shogun 2: Rise of the Samurai
Shogun 2: Fall of the Samurai
Napoleon: Total War
Factions
Units
Empire: Total War
Factions
Units
Factions
Units
Army
Buildings
Mercenaries
Retinue
Traits
Regions
Ranking
Medieval II: Total War: Kingdoms
Medieval II - Americas
Medieval II - Britannia
Medieval II - Crusades
Medieval II - Tutonic
Broken Crescent 1.05
Broken Crescent 2.02
Stainless Steel 5.1b
Stainless Steel 6.1
Deus Lo Vult 5.7
Deus Lo Vult 6.0
HTF: Eagle of the Elbe 05
The Long Road 2.0
Lands to Conquer Gold
DarthMod 1.4D: The Last Episode
Das Heilige Romische Reich 06
Third Age 1.3
Third Age 1.4
Third Age 2.1
Third Age 3.1